
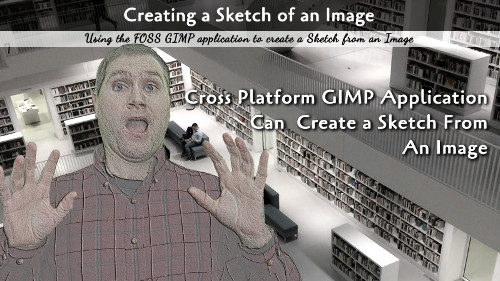
GIMP is a cross platform, free software package that can be used for simple or advanced image manipulation. This tutorial will show you how to create a sketch of any image you have.
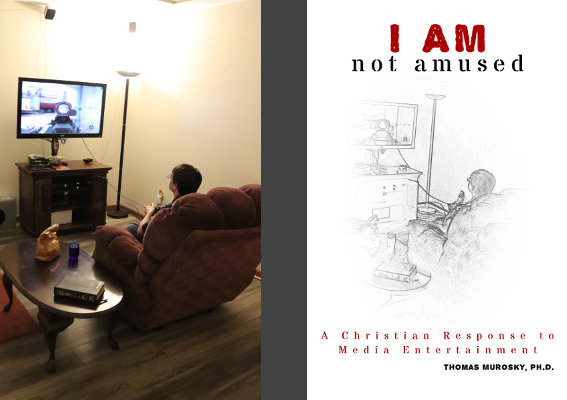
My cover for I AM not amused features a sketch of a kid playing a video game with a dusty Bible on the table behind the soft drinks and fast food. But the real scandal in that image is that it is not sketch! This is a real photo that we converted into a black and white sketch for this cover. Our design was simple, saying a lot with little detail, in such a way that the title would really stand out. Below is the original photo and the final cover.
Getting Ready
To follow this tutorial, you will need GIMP (GNU Image Manipulator Program) installed on your computer. You should be familiar enough to open an image. You will also want to know how to create a duplicate of a layer and change the layer opacity. These functions are both on the Layers panel.
Under the Filters menu, we will be working with Emboss. Emboss has two Function options and three Style options.
Functions
- Bumpmap: Provides a color grainy image output.
- Emboss: Provides a black and white sketch
We will be using the Emboss function even for the color sketch.
Style
- Azimuth: The direction the light shines the shadow on the output
- Elevation: How high the sketch ridges appear on the map. Use this to provide more detail
- Depth: How deep the valley in the map. Use this to lighten or darken linearly
Before you start, create a duplicate of the layer you are sketching. You will want to sketch the top layer, hide the other layer for now.
Black and White Sketch
The output of the emboss sketch will already be black and white. Open up the Emboss option from the menu, select the Emboss function. Leave the Azimuth alone for now, and set the elevation to the detail you want, then the depth to the brightness you want. Click OK and wait for the sketch to process.
If you want to make adjustments, undo the filter and make adjustments. Ctrl+Z (option+Z for Mac) will undo.
Color Sketch
To add color, make sure your backup layer is directly beneath the sketch and change the Opacity of the layer. Start with around 75% and then adjust it to get the right color balance.
Once you are happy with the sketch, you can merge the two layers together, but you will not be able to make any other changes after that, so you might want to make another backup of each layer first.
Hopefully now you know how to create a good sketch for any image you have. These are great for book covers or video thumbnails.