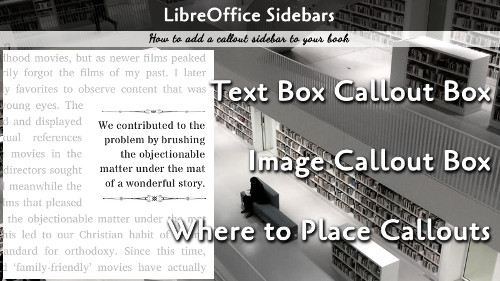
We all love the little callout sidebars that break up the page on a book. Today we will look at how you can add your own callout box in LibreOffice.
Callout boxes are easy, but they do require a lot of manual intervention to create. Here we will look at where to place your callouts, how to drop them in with both images and text boxes. Finally, for text boxes, we will look at basic styling.
Where to Place Sidebars
Your sidebars should generally be on the edge of the page rather than the gutter. This means that if your book is formatting correctly, odd numbered pages should see the box on the right of the page while even numbered pages should see it on the left.
I like to find a page (left and right) that are mostly full paragraph blocks and add the sidebars there in order to break up the flow of the book, making it easier to read.
Image Sidebars
I like to use image sidebars if I am inserting a background image. Head on over to GIMP and create an image that is 300dpi resolution and insert your text over the background, exporting each image as its own sidebar.
Add the image sidebar by going to Insert → Image.
Right click the image and set the anchor to place your box:
- To Page: Locks the image to anywhere on that page.
- To Paragraph: Locks the image to the paragraph - Note that if the paragraph splits a page, it will always appear on the first page the paragraph appears on
- To Character: Locks the image to a character
- As Character: Locks the image to exactly where it presently is
In the Properties menu (right click the image and select Properties).
Under Type, make sure your image size is the same for all your sidebars to keep professional consistency in your design. You can also set your Anchor here.
Under the Wrap tab, set your wrap to Optimal, which wraps text in all directions. Also, on this page, adjust your spacing. I like to use 0.10" on the Left for images on the right side of the page and 0.10" on the Right for images on the left. This gives good padding to your sidebar.
Text Box Sidebars
The Text Box is easy to work with, but has the required options in different places.
Add the text box by going to Insert → Text Box.
Type in your text (if you do not, the box cancels).
Right click the box and select Anchor to set your anchor correctly.
Right click and go to Wrap -> Edit to set the Optimal Wrap and Spacing.
Highlight the text in the box and set your font and size using the Font and Size selectors in the toolbar. It is not possible to apply styles to the textbox.
If you have any problems adding your sidebars, reach out to me and I may be able to help.


