
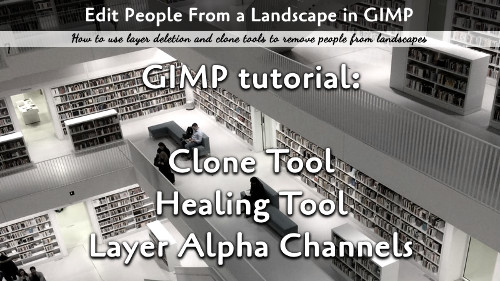
In this article, we will show you how to edit people out of landscape scenery. We will use multiple layers, alpha channels, the clone tool, and the healing brush.
For this simple tutorial, I used multiple photos taken with a tripod mounted camera. The various photos allowed me to line them up and blend two photos together to merge people out of the landscape shot. Here are the steps:
Align the photos
I added the photos as multiple layers (I did two in this case). Put the best image as the top layer, and sequentially worse images closer to the bottom.
Make sure each image down the bottom one all have an Alpha Channel (alternatively, you can just use Layer Masks).
Hide the upper most layers and work from the bottom layers up two at a time (The accompanying video, I only used two layers, if you have more than that, hide the top layers and work from the bottom up for best results).
Drop the opacity of the upper working layer so you can spot the places where you need to erase the upper layer to merge the layer without people into the ones with people.
Erase the people. Once done, increase the opacity back up and merge those two layers.
Move up to the next two layers until all layers are merged.
Editing With the Clone Tool
The Clone Tool allows you to grab one part of the layer and paint it over another. This is a good way to edit some people out if they are walking in perspective of the image, or if other factors prevent layering from removing the people.
Grab the tool and a brush, then hover over the area you want to clone over the area to be removed. Hold CTRL and click that region.
Paint over the region that needs editing and the clone will make transfer the part of the layer over to the new painted region.
Patching the Edits
Sometimes the layer editor or clone tool will leave hard edges that need smoothed out either in color or by the smoothness. The Healing Brush tool is designed for this. It is like the Clone Tool, but it averages colors between the layer being painted and the layer being copied to give a very smooth and even look.
Use the Healing Brush in the same way as the clone tool for final cleanup.